A DIY ceramic coating kit costs $150-$300. Our White coating is $960 on a sedan.
Done carefully, the DIY job can turn out well. Aaron coats his own vehicles, and some of the products on the shelf are the same ones we use.
So what is the other several hundred dollars actually buying?
Not the coating. That is the cheapest part of the job for us too.
Where the day actually goes
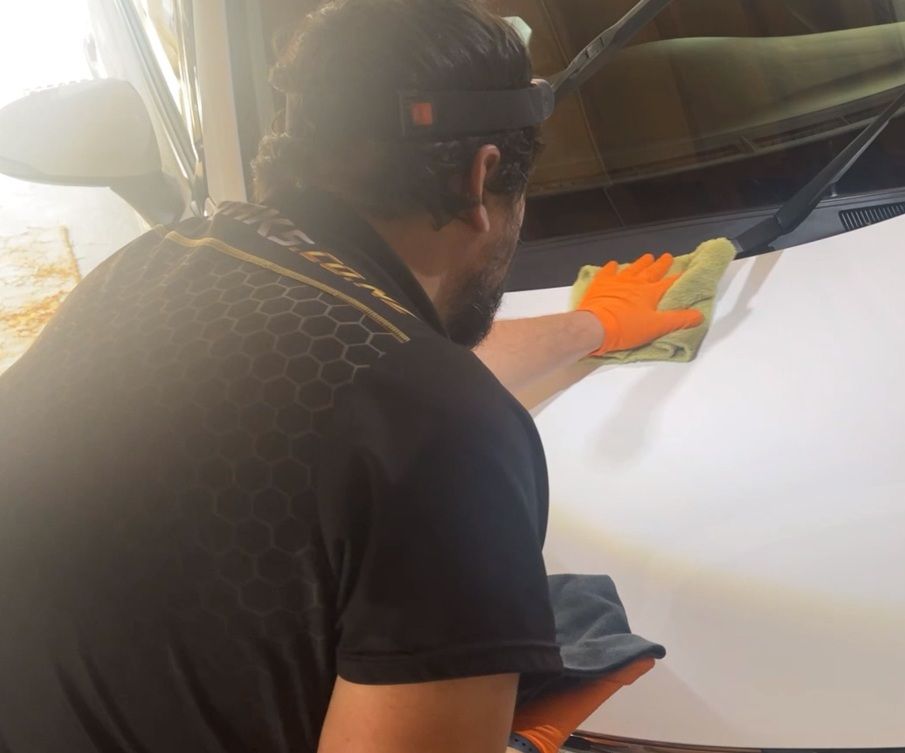
A coating job is a full day, usually six to ten hours. Applying the product is a small fraction of that.
Decontamination
A proper wash, then clay bar every time, then tar removal where the vehicle needs it. Some cars have heavy build-up and need considerably more, others do not. This is included in every coating we do and is never charged separately.
Assessment under inspection lighting
Working out what the paint actually is, how much clear coat there is to work with, and what correction it can safely take. Most swirling is invisible in normal light and only appears once the car is back in the sun.
Correction and polishing
Light polishing is part of preparation on every job. Where paint needs genuine correction beyond that it is quoted separately, typically starting around $500. Most cars need only a single stage, because modern paint is thin.
Application and levelling
Panel by panel, with careful attention to flash time. Leave it too long before levelling and you get high spots that then have to be polished off, which means going back into the clear coat you just corrected.
Three of those four steps happen before the coating comes out of the bottle. That is where the money goes.
The three real differences
Time
Six to ten hours, in one go, with the car undisturbed afterwards to cure.
That is the part most people underestimate. Not the difficulty, the sheer duration. A weekend project that gets interrupted halfway through preparation tends to end up rushed at exactly the stage that matters most.
Preparation
This is where results are actually decided.
A coating locks in the condition of the paint underneath it. Put the best product available over swirled, oxidised paint and you have preserved swirled, oxidised paint for the next several years.
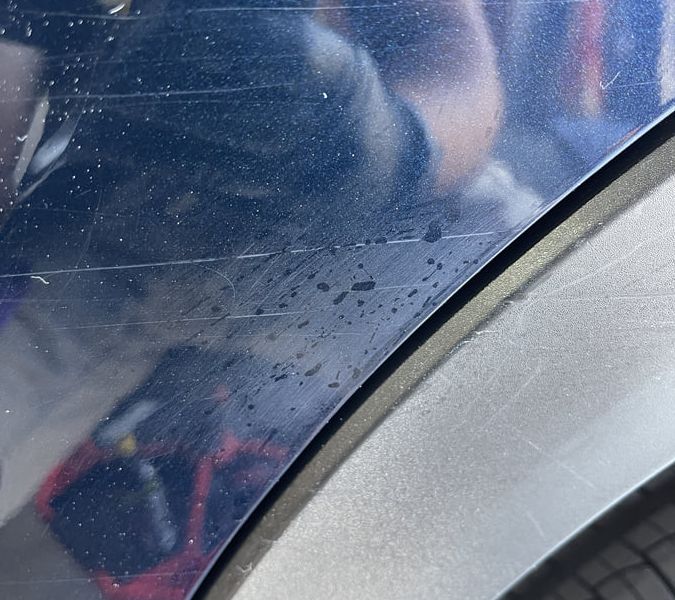
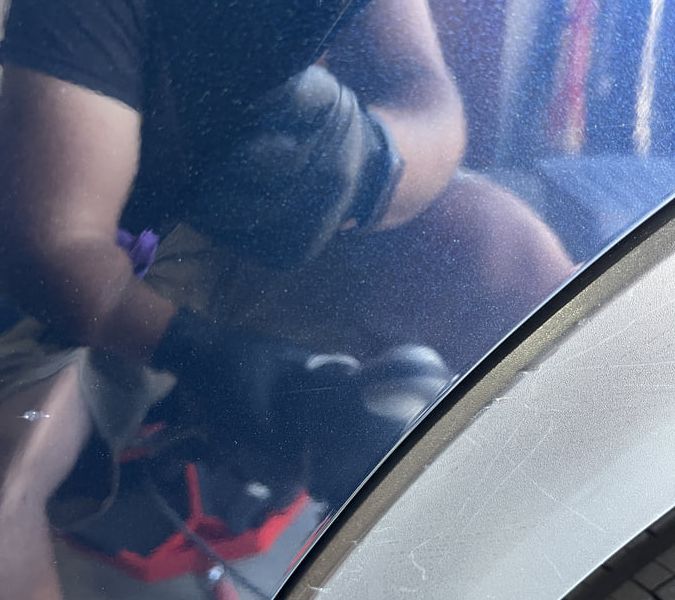
Most of what people admire in a finished car came from this stage rather than from the product that went on afterwards. We have covered where swirl marks come from and how correction and coating fit together separately.
The eye
Knowing what you are looking at, and knowing when to stop.
Modern paint is thin. We have gauged 2017 cars at about 48 microns for the entire system, against about 70 microns for a human hair, and the clear coat is only the top part of that. Every correction spends some of it, and it does not grow back. The judgement is in reading how much is there, deciding what will realistically correct, and stopping before you have taken more than the paint could afford.
Most people doing a standard polish see about 50-60% of defects removed. On newer cars, expect less. Perfect paint is achievable but rarely worth the cost or the risk, and unless the car is going to a show it is rarely what anyone actually needs.
That judgement is the thing that takes longest to build, and it is most of what you are paying for.
Are the products different?
Partly, and less than the marketing suggests.
Accredited installers get access to coatings that are not sold to the public, and they generally last longer. We hold Gtechniq and C6 Ceramic Coatings accreditation, which is what that access rests on. But we install coatings, we do not sell the products.
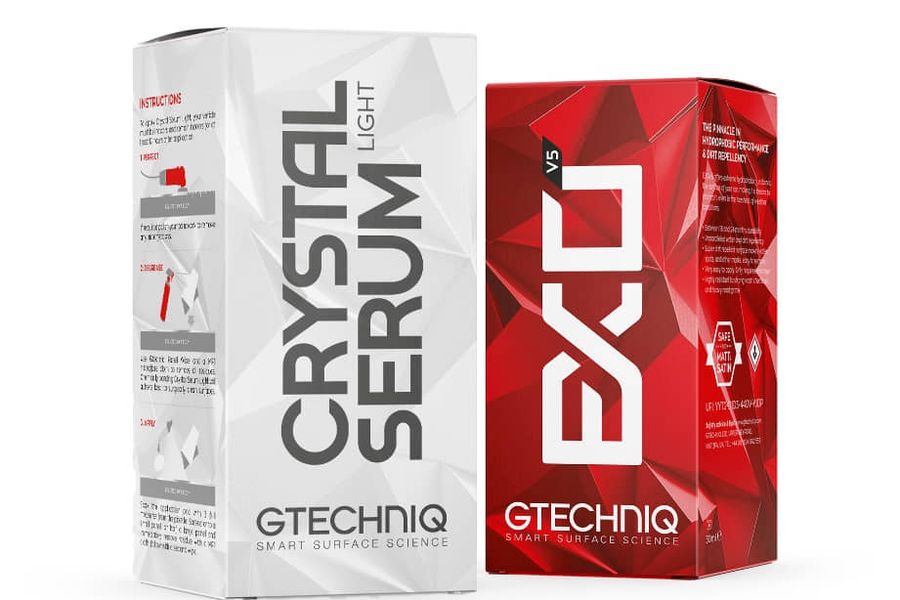
There are also genuinely good consumer products. A decent consumer coating over well-prepared paint will comfortably outperform a premium coating over paint that was not prepared. The order of importance is preparation first, product second.
If you are weighing up grades, our 9H versus 10H article covers what the hardness ratings actually mean, and what a coating gives you sets out the benefits without the overstatement.
Worth knowing on cost: the coating itself can range anywhere from $150-$1,000 for the product alone, before any labour. That range is why “which coating” is a much less useful question than “what condition is the paint in”.
When DIY is the right call
Genuinely often.
- You enjoy the work. Plenty of people do, and that is reason enough.
- The paint is already in good condition. Less to correct means less judgement required, and the gap between DIY and professional narrows considerably.
- You have a full uninterrupted day, plus somewhere dry to leave the car overnight.
- You have somewhere clean to work. This matters more than people expect. Dust settling on a panel during flash time gets locked under the coating, and the only fix is polishing it back off. A swept, closed garage is fine. A windy driveway is not.
- You are willing to accept a slightly less perfect result for a fraction of the cost, which is a perfectly rational trade.
If you are going to do it yourself, the single highest-value thing you can do is spend longer on preparation than you think you need to, and buy proper lighting before buying a more expensive coating.
When it is worth paying
- The paint needs real correction and you would rather not learn on your own car
- You do not have a clear day, or anywhere suitable to work
- The car is worth protecting properly and you want the result to be right first time
- You want the longer-life products that are not sold to the public
What we actually charge
| DIY | White | Black | |
|---|---|---|---|
| Cost | $150-$300 | $960 | $1,440 |
| Cost per week | Depends entirely on how the prep goes | $3.69 to $6.15 | $3.08 to $3.96 |
| Warranty | None | 5 year | 9 year |
| Realistic life | Varies with prep | 3-5 years | 7-9 years |
| Your time | A full day, plus learning | None | None |
| Decontamination | Yours to do | Included | Included |
Correction beyond light polishing is quoted separately either way, and there is a fuller breakdown in our guide to coating costs in Nelson. Our pricing calculator will give you a figure for your own vehicle straight away.
"Fantastic service. Outstanding communication, friendly, professional with a wealth of knowledge. Aaron has an eye for detail and is a perfectionist."
— Sarah Carroll
What being mobile changes
We come to you. The coating goes on and cures in your own garage, and the car stays there overnight.
Our background is flood and fire restoration, which is controlled-environment work, and that is why doing this on site works properly rather than being a compromise. Practically it means you are not arranging to drop a car somewhere and collect it a day later.
Every job includes a free follow-up clean, and that comes with a walkthrough of how to wash the car without putting the marks back in. We also check back in a year or so later, unprompted, to see how it is holding up. If you are the sort of person who was considering DIY, those two parts tend to be the most useful thing in the whole job. The same method is written up in our washing guide, and longer-term aftercare is in the maintenance guide.
The short version
DIY is a fair choice and it works. The gap is not competence, it is time, preparation and judgement.
If the paint is in good shape and you have a free day, do it yourself. If it needs real correction, or you want it right first time, that is what we are for.
Not sure which way to go?
Send us a photo or get in touch. If your paint is straightforward enough to do yourself, we will say so.
What happens next: Free consultation → Transparent estimate → Professional application → Follow-up care